Dreaming of a voluminous, flowing mane that turns heads wherever you go? While patience is a virtue, sometimes you just want that instant gratification! This is where hair extensions come in. From semi-permanent options like tape-in hair extensions to the incredibly versatile clip-in hair extensions, there’s a perfect solution to instantly achieve the long, luscious locks you desire. Specifically, clip-ins offer an unparalleled blend of convenience and flexibility, allowing you to dramatically change your look in minutes – whether you’re tired of waiting for your natural hair to grow out or simply want to switch up your short style for a special occasion.
Many people hesitate to try hair extensions, often wondering: How do I put in clip-in hair extensions correctly? and How can I ensure my natural hair blends seamlessly with the extensions? These are valid concerns, but don’t let them deter you from experiencing the magic of extensions! You’ve landed in the right place. This comprehensive guide will walk you through how to put in hair extensions like a pro, along with expert styling tips that will make your clip-ins look utterly natural and beautiful. Get ready to unlock a world of new hairstyles!
Mastering the Art of Clipping In Hair Extensions
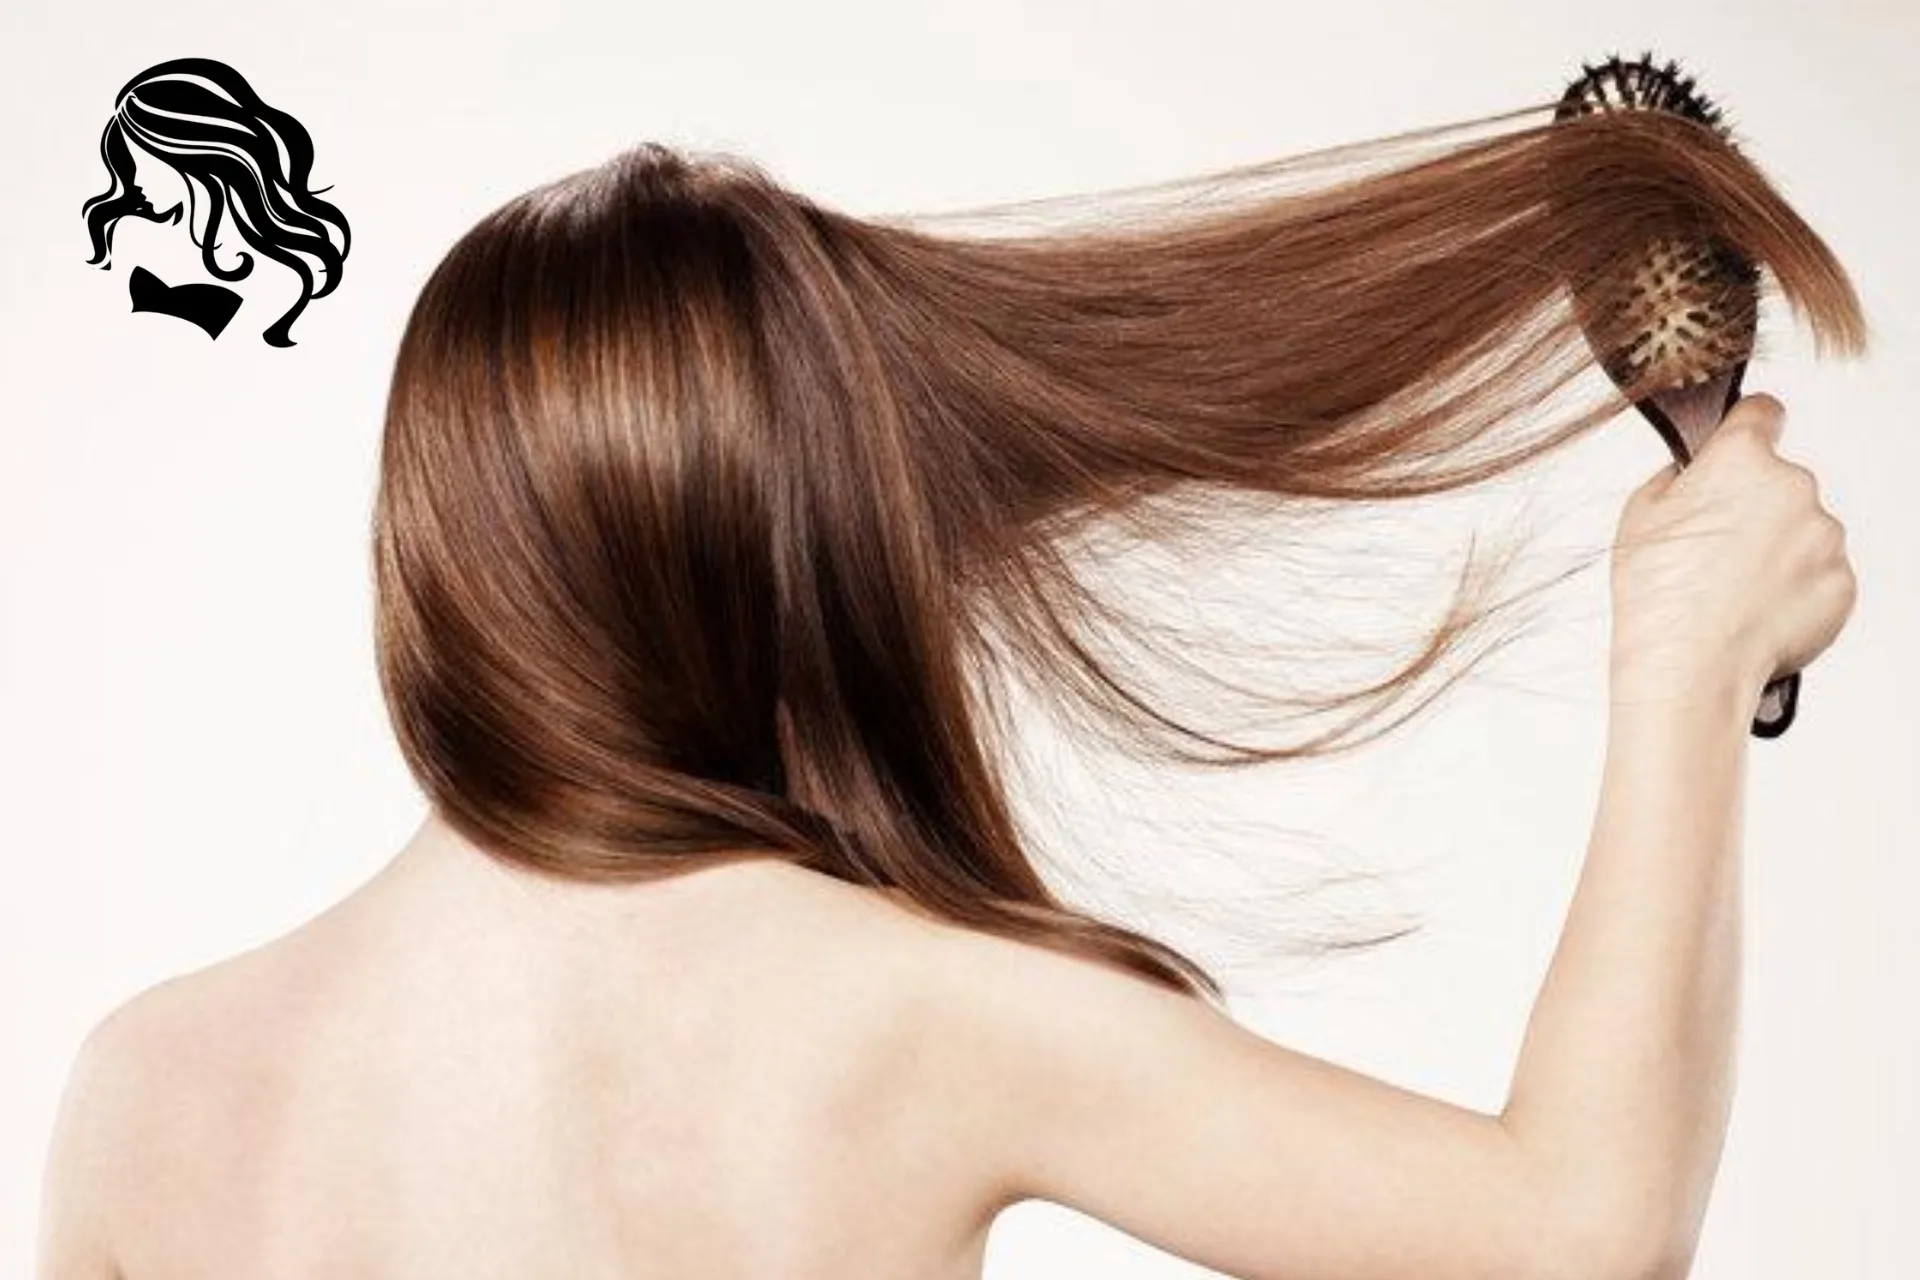
Putting in clip-in hair extensions is surprisingly straightforward, and with a little practice, you’ll be a pro in no time. The key is strategic placement and proper preparation to ensure a secure and undetectable hold.
Step 1: Prep and Part Your Hair
Begin by sectioning your hair into a top and bottom part. The initial part should start just above the tops of your ears, extending horizontally across your head. Use a hair clip to secure the top section of your hair, keeping it neatly out of the way. This creates a clean base for your first weft.
Step 2: Create a Foundation at the Roots
For optimal grip and to prevent slippage, gently tease the roots of the bottom section of hair. Focus on the area where you intend to attach the clips. After teasing, give a light spritz with a flexible hold hairspray, such as L’Oréal Paris Elnett Precious Oil Satin Hairspray. This adds texture and a subtle stickiness, ensuring your extensions stay firmly in place throughout the day.
Step 3: Secure Your First Weft (Four Clips)
Select a weft with four clips, which is typically the widest weft and designed for the back of your head. Open all the clips. Carefully comb the clips into the teased roots of the section you just prepared, aligning them with your horizontal part. Press down firmly on each clip until you hear a soft “click,” indicating they are securely closed. Ensure the weft lays flat against your scalp.
Step 4: Release and Repart for the Next Layer
Once the first weft is in place, release the top section of your hair. Now, create a new horizontal part approximately one to two inches above the previous one. This crucial step ensures there’s enough natural hair above the extensions to completely cover them, maintaining that seamless, natural look.
Step 5: Tease, Spray, and Clip (Three Clips)
Repeat the preparation process: gently tease and spray the roots along your new part. Next, grab a weft with three clips. Open the clips, position the weft along your new part, and securely clip it into your teased roots. This multi-weft approach builds volume and length layer by layer, creating a more natural progression.
Step 6: Continue Layering Your Extensions
Continue the process of releasing sections of hair, creating new parts, teasing roots, and clipping in wefts (typically two-clip or single-clip wefts for smaller sections) as you move up your head. The goal is to distribute the extensions evenly for balanced fullness.
Step 7: Frame Your Face with Single Clips
For added length and fullness around your face, gently lift your face-framing strands. Place a single-clip weft on each side of your head, securing them discreetly beneath your natural hair. This step ensures a cohesive look from all angles, making your extended hair appear completely organic.
Elevating Your Look: How to Style Hair Extensions Flawlessly
Now that your clip-ins are expertly in place, it’s time for the fun part: styling! The key to a flawless finish is to ensure your natural hair and extensions blend perfectly, appearing as one beautiful, voluminous mane.
Hair Extension Style #1: Overnight Braids for Effortless Waves
Worried about high-maintenance styling? Overnight braids are a fantastic, heat-free method to achieve beautiful, blended waves. This technique effortlessly marries the texture of your extensions with your natural hair.
Step 1: Braid Your Natural Hair Strategically Begin by braiding your natural hair as you normally would. The number of braids and their size will dictate the tightness and volume of your waves. For looser waves, opt for fewer, larger braids. For tighter, more defined waves, create more, smaller braids. To ensure waves extend all the way to your roots, consider French braids or Dutch braids.
Step 2: Seal in the Wave with Hair Gel Before heading to bed, apply a generous amount of hair gel, such as L’Oréal Paris Advanced Hairstyle LOCK IT Clean Style Gel, over each braid. This gel acts as a setting agent, helping to “lock in” the wave pattern. When you unravel them in the morning, you’ll be left with perfectly formed waves that will hold their shape throughout the day.
Step 3: Mirror the Braiding on Your Extensions Just as you braided your natural hair, it’s crucial to braid your hair extensions in the same size and style. This symmetry is vital for ensuring that in the morning, your extensions match the texture and style of your natural hair seamlessly. Consistency is key for a truly blended look.
Step 4: Apply Gel to Your Extensions Don’t forget your extensions! Apply the same hair gel to your braided extensions, ensuring they are also set for consistent wave formation.
Step 5: Prioritize Beauty Sleep With your hair (and hair extensions) prepped and styled, it’s time to let those waves form overnight. For optimal results and to minimize frizz, consider sleeping on a silk or satin pillowcase. These materials reduce friction, keeping your hair smooth and preventing tangles.
Step 6: Unravel and Blend Your Waves Good morning! Carefully unravel both your natural hair braids and your extension braids. The result will be effortless, cohesive waves. Now, clip in your extensions if you styled them separately overnight. Gently run your fingers through your hair to loosen and blend the waves, creating a soft, voluminous look. You’ll be ready to go in mere minutes!
Hair Extension Style
#2: Sleek and Straight Perfection
Achieving a perfectly straight ‘do with hair extensions requires a specific approach to ensure a seamless and natural appearance.
Step 1: Prep with Frizz Control and Heat Protection Before applying any heat, towel-dry your hair until it’s damp. Then, apply L’Oréal Paris Advanced Hairstyle SLEEK IT Iron Straight Heatspray evenly throughout your hair. This dual-action product not only helps keep your hair smooth and frizz-free but also provides essential protection against heat damage during styling. Follow by blow-drying your hair completely.
Step 2: Straighten Your Natural Hair Proceed to straighten your natural hair in small sections as you normally would. Ensure each section is thoroughly straightened for a super sleek base.
Step 3: Straighten Your Extensions Separately (If Applicable) If your extensions are made of human hair and are heat-safe, it’s often easier to straighten them separately before clipping them in. This minimizes the amount of work you’ll need to do on your hair once the extensions are in place, making the blending process quicker. Editor’s Note: Always double-check the care instructions for your specific hair extensions. Not all extensions are designed to withstand heat, and applying heat to synthetic extensions can cause irreparable damage.
Step 4: Apply Extensions and Final Blend Once your extensions are straight, clip them into your hair using the steps outlined earlier. Now, grab your straightener one last time. Straighten any areas where your natural hair meets the extensions, paying extra attention to these transition points. For an ultra-blended finish, slightly curl the ends of your hair and extensions inward or outward to create a cohesive flow.
Hair Extension Style #3: Voluminous Curls That Last
Curling your hair with extensions requires a bit more intentionality to ensure a perfectly blended, voluminous result.
Step 1: Clip in Your Extensions First Unlike some other styles, when curling, it’s best to apply your clip-in extensions first. This allows you to curl your natural hair and the extensions together as one unit, which is crucial for a seamless blend.
Step 2: Apply a Volumizing Heat Protectant Before applying any heat, generously apply a heat protectant product like L’Oréal Paris Advanced Hairstyle BOOST IT Volume Inject Mousse throughout your entire mane, including the extensions. This mousse not only shields your hair from heat damage but also adds incredible volume, which is perfect for a curly look.
Step 3: Curl Together for Seamless Blending The most critical step for curling with extensions is to curl your natural hair and extensions together in each section. Do not curl them separately, as this will result in a choppy, unblended appearance. Take manageable sections of hair that include both your natural strands and extension pieces, and curl them using your preferred curling iron or wand.
Step 4: Lock in Your Curls with Hairspray To ensure your beautiful curls last all day (or night!), finish your look with a strong-hold hairspray. Mist L’Oréal Paris Elnett Satin Hairspray Strong Hold about 12 inches away from your hair, ensuring even coverage without making your hair stiff.
Hair Extension Style #4: Quick Waves with Wave Spray (Heat-Free)
When time is of the essence and overnight braids aren’t an option, a wave spray offers a fantastic, heat-free way to add natural-looking waves to your hair and extensions.
Step 1: Apply Your Extensions Begin by securely clipping in your hair extensions.
Step 2: Lightly Dampen Your Hair and Extensions For this style, your hair doesn’t need to be soaking wet. Simply dampen your hair and extensions slightly. You can do this by running your fingers under the faucet and applying a small amount of water, or by using a fine mist spray bottle. The goal is to make the hair receptive to the wave-enhancing product.
Step 3: Apply and Scrunch with Wave Spray Spritz L’Oréal Paris Advanced Hairstyle AIR DRY IT Wave Swept Spray generously throughout your damp hair and extensions. Once applied, begin scrunching your hair upwards with your hands. This action encourages the formation of natural-looking waves and enhances your hair’s existing texture. Allow your hair to air dry completely, and you’re all set with effortless, beachy waves!
Hair Extension Style #5: Braids for Instant Blending
Another incredibly simple and quick way to seamlessly blend your hair extensions with your natural hair is to choose a braided hairstyle. Braids are masters at disguising the transition point where the ends of your natural hair meet your extensions, creating a cohesive and stylish look.
Step 1: Apply Your Extensions First, clip in your extensions following the detailed steps at the beginning of this guide.
Step 2: Braid Away! This step is wonderfully self-explanatory! Whether you’re in the mood for classic braided pigtails, a chic fishtail braid, a elegant traditional three-strand braid, or even a crown braid, the options are plentiful. The braided texture naturally integrates the extensions, making them virtually undetectable. Experiment with different braid styles to find what suits your mood and outfit!
With these comprehensive tips and styling techniques, you’re now equipped to confidently clip in and style your hair extensions, achieving a beautiful, natural-looking mane every time. Embrace the versatility and enjoy your stunning new length and volume!